
Unleash Your Creativity With the Word
For centuries, people seeking spiritual comfort have turned to the Bible. It's a source of wisdom and connection with the divine. But reading scripture doesn't have to be a passive activity. Adding a personal touch to the Word has a long and rich history, from handwritten notes in ancient texts to the illuminated manuscripts of the Middle Ages. Today, Bible journaling continues this tradition in a vibrant new way. Understanding the core concepts and strategies behind it can transform your study from a simple reading exercise into a dynamic conversation with God.
What makes Bible journaling so effective? It bridges the gap between intellectual understanding and emotional connection. Combining artistic expression with scriptural exploration creates a tangible link between the Word and our personal faith journey. This personalized approach fosters a deeper understanding, allowing us to internalize biblical parables, explore complex themes, and discover new meaning in familiar passages. The evolution from simple annotations to the diverse range of techniques available today reflects a growing desire for personalized spiritual practices.
In this article, we'll explore eight inspiring Bible journaling techniques designed to spark your creativity and deepen your spiritual practice, no matter your artistic skill level. Whether you're drawn to the elegance of calligraphy, the vibrancy of color, or the tactile nature of mixed media, you’ll discover methods to personalize your Bible and transform your study into a powerful act of worship. Get ready to unlock a new dimension of spiritual growth as we delve into these creative avenues for engaging with the Word.
1. Bible Margin Lettering
Bible margin lettering is a foundational technique in Bible journaling. It involves writing directly in the margins of your Bible. From quick notes to elaborate calligraphy, this method offers a personal way to interact with scripture. It's a great starting point for beginners because it's easy to access and requires minimal supplies. By using the white space around the text, you can highlight verses, jot down reflections, or emphasize passages without covering the original text.
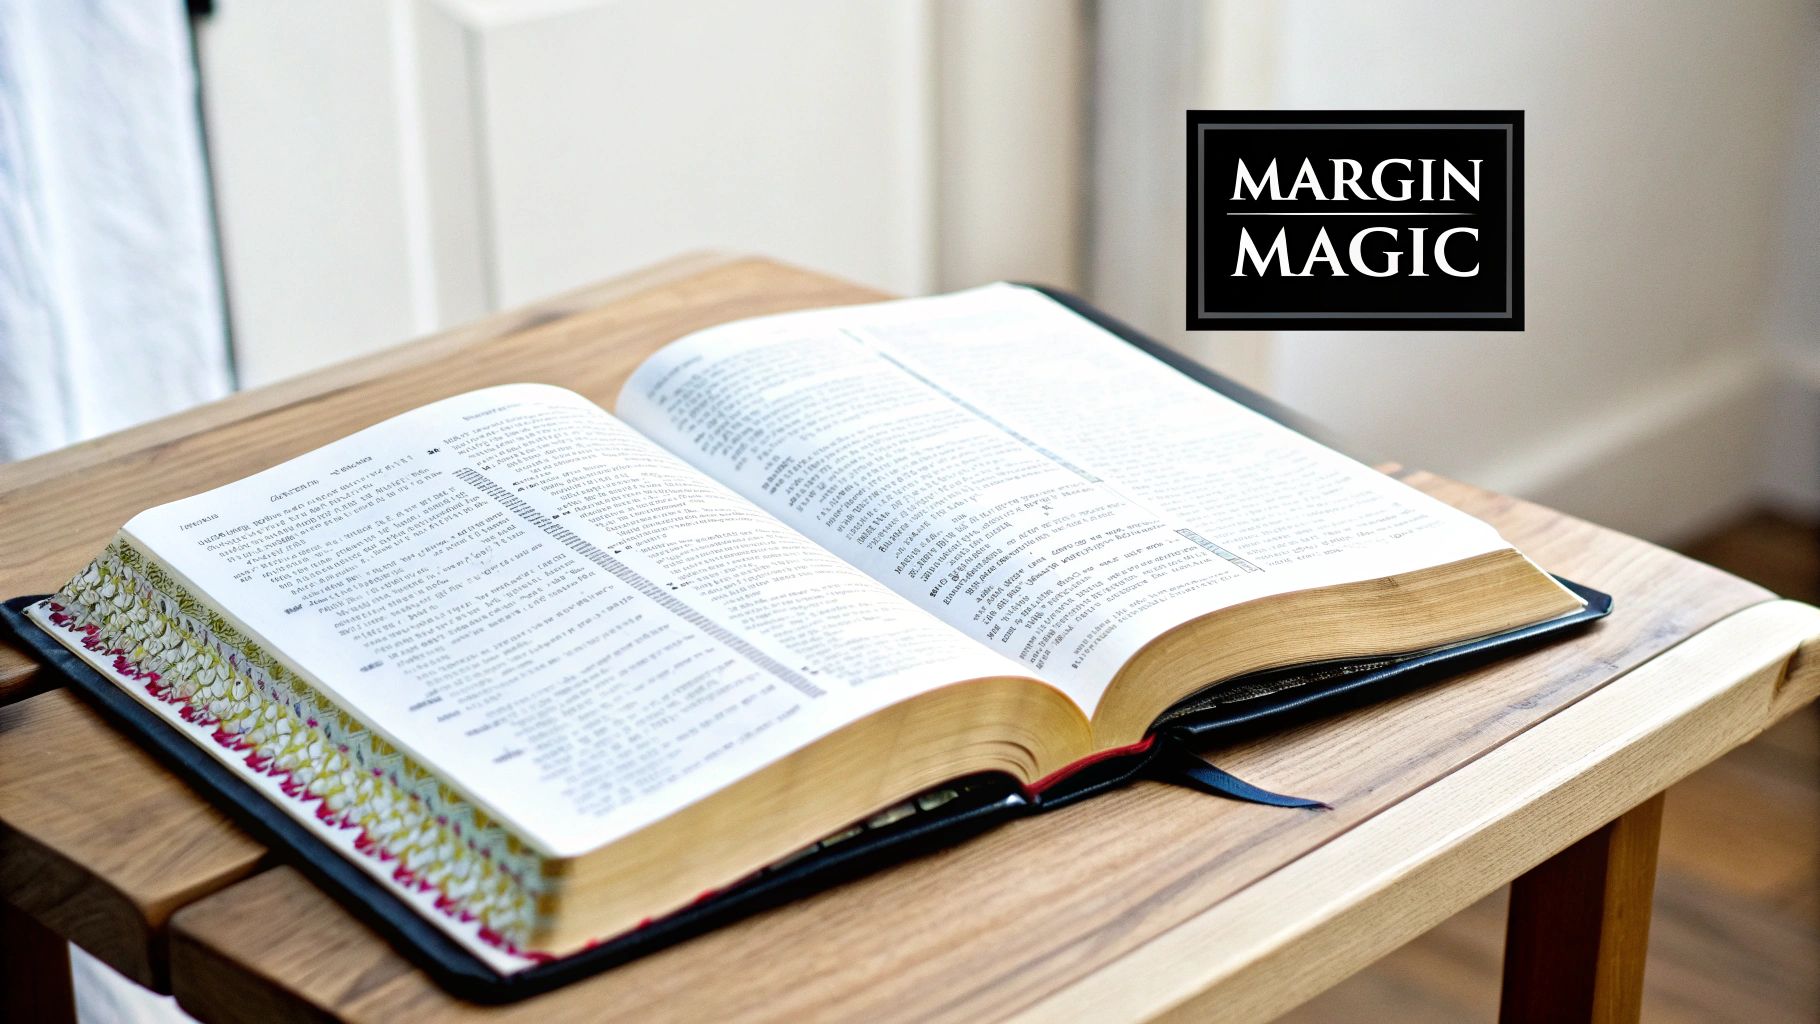
This technique deserves a top spot on this list because it's a powerful way to personally connect with scripture. It bridges the gap between simply reading and truly engaging with the message. Writing thoughts and prayers next to the text creates a tangible link between the reader and the Word.
Features and Benefits
- Utilizes existing space: This method leverages the white space in your Bible's margins. Journaling Bibles often come with extra-wide margins for this very purpose.
- Scalable complexity: This technique adapts to all skill levels, from simple handwriting to intricate calligraphy.
- Personal touch: Add a unique, handwritten element to your Bible, creating a cherished keepsake.
- Enhanced understanding: Solidify key takeaways, follow recurring themes, and personalize your study.
Pros
- Minimal supplies: Requires only pens, making it a cost-effective option.
- Preserves the text: Doesn't hide the original biblical text.
- Beginner-friendly: Easy to learn, even without artistic experience.
- Personal connection: Fosters a deeper connection with scripture.
Cons
- Limited space: Standard Bibles may have narrow margins.
- Handwriting insecurities: Can be difficult for those concerned about their handwriting.
- Permanence of mistakes: Errors are hard to fix.
- Practice required: Decorative lettering takes time and practice.
Real-World Examples
- Reflection and Date: Note the date and a brief reflection beside a meaningful verse.
- Chapter Headings: Create visually appealing chapter headings.
- Thematic Highlighting: Use different colored pens to mark recurring themes throughout scripture.
Tips for Implementation
- Pencil first: Lightly sketch your lettering in pencil before using pen.
- Practice makes perfect: Practice on separate paper first.
- Archival pens: Use archival, non-bleeding pens like Micron or Pigma pens.
- Match the tone: Experiment with different lettering styles to complement the passage's message.
Gaining Popularity
Bible margin lettering's popularity has soared thanks to influencers like Shanna Noel (founder of Illustrated Faith), Rebekah R Jones, and hand lettering specialist Amanda Arneill. These individuals have inspired countless people to connect with scripture through art. Their online platforms and communities provide resources, tutorials, and encouragement, fostering a thriving community of Bible journalers.
2. Tip-In Page Method
The Tip-In Page Method offers a flexible and creative approach to Bible journaling. It allows for extensive artistic expression and in-depth study without directly altering the Bible's original pages. This technique involves creating artwork, notes, or reflections on separate pieces of paper and then "tipping" them into your Bible. This can be done using adhesive, washi tape, or even paper clips. It's a great option for those who want to preserve their Bible's integrity while still enjoying a rich journaling experience.
This method gained popularity within the faith-based crafting community thanks to influential figures like Valerie Wieners-Massie, Shanna Noel, and Heather Greenwood. They showcased the versatility and beauty of tip-ins through their work, demonstrating how this technique could be used to create stunning visual art, detailed study notes, and personalized prayer journals. Their creativity inspired countless others to adopt this method.
How It Works
The core of the Tip-In Page Method lies in its use of external paper. This simple feature opens up a world of possibilities:
Unlimited Space: Forget cramped margins! Tip-in pages provide the freedom to write lengthy reflections, explore complex theological concepts, or create elaborate artwork. You have room to express yourself fully.
Variety of Media: From delicate watercolor paintings on specialized paper to bold lettering on cardstock, the Tip-In Method lets you explore a range of media. You can even incorporate photographs, fabric scraps, or other meaningful memorabilia.
Flexibility and Forgiveness: Made a mistake? No problem. Simply discard the tip-in and start again. This method offers a safety net for those hesitant to write or paint directly in their Bibles.
Removable and Repositionable: Depending on the adhesive used, tip-in pages can be removed or repositioned, allowing for adjustments over time. This feature offers welcome flexibility as your study evolves.
Real-World Examples
Watercolor Reflections: Imagine painting a vibrant watercolor of the "Sermon on the Mount" on watercolor paper and attaching it beside the corresponding scripture. This adds a visual layer to your understanding.
Ongoing Prayer Requests: Create a small, tabbed tip-in near your daily readings to keep a running list of prayer requests. This provides a visual reminder to lift up these intentions regularly.
Sermon Notes & Study Aids: Use larger tip-in pages to record detailed notes from sermons or Bible study sessions. Fold-out pages can accommodate more extensive notes and cross-references.
Pros & Cons
Pros:
- Preserves original Bible pages
- Unlimited space for journaling and artwork
- Mistakes are easily corrected
- Compatible with a wide range of paper and media
Cons:
- Can add bulk to the Bible
- Pages may come loose
- Requires extra supplies
- Overuse can make the Bible awkward to handle
Tips for Implementation
Acid-Free Paper: Use acid-free paper to prevent yellowing and deterioration.
Sizing: Trim tip-in pages slightly smaller than your Bible page for a neat finish.
Adhesive: Consider removable adhesive for flexibility or strong adhesive for permanence. Washi tape offers a decorative, less permanent option.
Templates: Create a template to ensure consistent tip-in sizes.
Decorative Edges: Add visual interest with torn, deckled, or die-cut edges.
The Tip-In Page Method is a valuable tool for any Bible journaler. It offers a balance between creative freedom and preservation, empowering individuals to personalize their Bible study. Whether you're a seasoned artist or just beginning, this technique provides an adaptable approach to deepening your connection with scripture.
3. Watercolor Illustrations
Watercolor illustrations offer a vibrant and expressive approach to Bible study. Using transparent, water-based paints, you can create beautiful artwork directly on your Bible pages. These can range from simple washes of color to intricate, detailed paintings. The translucent quality of watercolor allows the scripture to remain visible beneath the paint, creating a layered, interactive experience. This makes it a powerful way to visually represent your spiritual journey.

Watercolor's unique features make it especially well-suited for Bible journaling:
- Transparency: The text remains visible, keeping the scripture central while enhancing it with visuals.
- Soft, Flowing Transitions: Watercolors create beautiful gradients and blends, perfect for depicting elements like skies, water, or abstract emotional representations.
- Layering: Build colors from light to dark, adding depth and complexity to your artwork.
- Versatile Application: From background washes to detailed biblical scenes or symbolic representations, watercolor offers a range of artistic possibilities.
Why Watercolor Is a Valuable Tool
Watercolor journaling bridges the gap between creative expression and spiritual reflection. It offers a deeply personal way to connect with the scriptures, making it a valuable practice for anyone seeking a richer Bible study experience. Its versatility accommodates both simple and complex artistic expression, making it accessible to a wide range of skill levels.
Pros and Cons of Watercolor
Let's take a look at the advantages and disadvantages of using watercolors in your Bible study:
| Pros | Cons |
|---|---|
| Vibrant and Eye-Catching | Page Warping |
| Minimally Invasive (with thin washes) | Requires Preparation (clear gesso) |
| Blendable | Potential for Bleed-Through |
| Quick Drying | Learning Curve (for certain effects) |
Real-World Examples
Here are a few ideas to spark your creativity:
- Sunrise Background: Imagine a soft watercolor sunrise behind Matthew 5, visually representing a new understanding of the Sermon on the Mount.
- Abstract Psalms: Express the complex emotions of the Psalms through abstract color fields and washes, reflecting the feelings within the verses.
- Garden of Eden: Illustrate the lush beauty of the Garden of Eden in Genesis with delicate watercolor botanicals.
Tips for Using Watercolor
- Prepare Your Pages: Always use clear gesso on your Bible pages before painting. This creates a protective barrier against bleed-through and minimizes warping.
- Water Brush Pens: Water brush pens offer excellent control and reduce mess.
- Layering Technique: Start with lighter colors and gradually layer darker tones for depth.
- Blot Excess Water: Keep a paper towel handy to blot excess water and control spreading.
- Watercolor Pencils: Watercolor pencils allow for precise detail and controlled blending with a wet brush.
Growth and Influence of Watercolor in Bible Journaling
The popularity of watercolor Bible journaling has blossomed in recent years, thanks to artists and communities like Rebekah R Jones, Jann Gray, and the Illustrated Faith community. They've inspired countless individuals to explore this artistic and spiritual practice. Through online tutorials, workshops, and social media, they've fostered a supportive environment for learning and exploring watercolor's potential in Bible study. Their work demonstrates how watercolor can deepen understanding and connection with scripture, contributing to its widespread adoption in the faith-based journaling community.
4. Digital Bible Journaling
Digital Bible journaling offers a modern, flexible way to connect with scripture. Using devices like tablets, smartphones, and computers, along with specialized apps and digital art tools like Procreate, you can craft personalized journal entries. These entries can be saved, shared, or even printed. This method opens a world of creative possibilities without permanently altering your physical Bible.
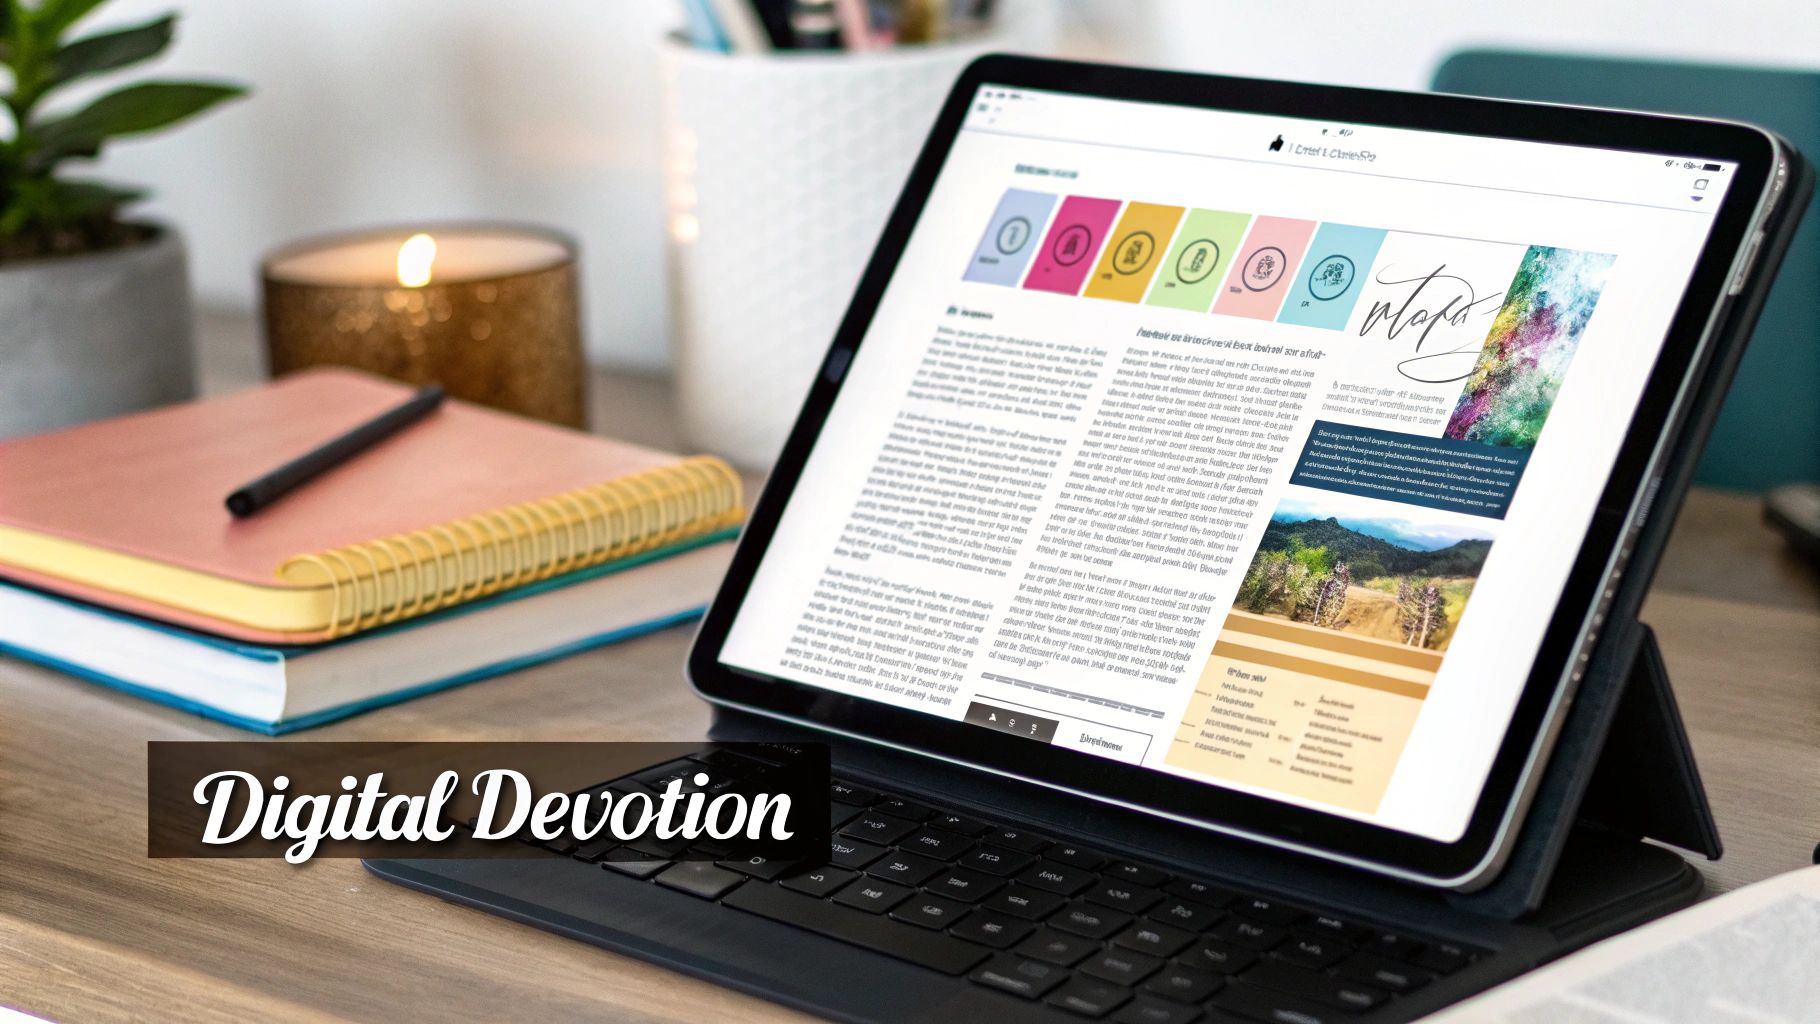
This technique earns a spot on this list because it appeals to both tech-savvy individuals and those hesitant to mark up their physical Bibles. It provides a unique blend of creativity, technology, and spiritual reflection.
Exploring the Possibilities
Features like layers, undo/redo functions, and a vast selection of digital brushes and colors allow for experimentation and artistic expression not always possible with traditional methods. You can incorporate digital photos, diverse typefaces, and special effects to further personalize your entries.
Imagine creating a layered artwork depicting the imagery of Revelation using digital painting tools. Or, perhaps highlighting specific verses with custom typography that reflects the meaning of the passage through digital lettering. You could even combine personal photographs with scripture verses to create deeply meaningful digital compositions that resonate with your own life experiences.
The Rise of Digital Bible Journaling
The increasing popularity of digital Bible journaling is partly due to influential figures like Amanda Arneill, who offers digital lettering courses. The growth of online communities like the Illustrated Faith digital community also contributes to its rise. Furthermore, Bible apps like YouVersion and Logos Bible Software have integrated journaling features, making digital engagement with scripture more accessible than ever.
Pros:
- Easily Correctable: Mistakes are easily fixed with the undo function, eliminating the worry of ruining a page.
- No Page Damage: No more bleed-through or page damage from various art supplies.
- Unlimited Resources: Enjoy an unlimited color palette and a wide array of digital "art supplies."
- Easy Sharing: Share your creations online and connect with others on their spiritual journey.
- Printable Creations: Print your digital entries and add them to your physical Bible or compile them into a separate journal.
Cons:
- Lack of Tactile Experience: Some may miss the feel of pen and paper.
- Initial Investment: Requires a digital device and potentially software.
- Less Traditional: Might feel less connected to traditional Bible study.
- Digital Distractions: Potential for distractions can interrupt spiritual focus.
Tips for Digital Bible Journaling:
- Explore Dedicated Apps: Try apps designed for Bible journaling, such as Illuminated Bible or the journaling features in YouVersion.
- Minimize Distractions: Create a distraction-free mode on your device to maintain focus.
- Back Up Your Work: Use cloud storage services like Google Drive or Dropbox to back up your digital journals.
- Mimic Traditional Media: Experiment with digital brushes that mimic traditional media for a familiar feel.
- Print Your Favorites: Print your favorite entries to include in your physical Bible or create a personalized journal book.
Digital Bible journaling offers a powerful and adaptable method for engaging with scripture. By understanding its features, benefits, and potential drawbacks, you can determine if this approach is a good fit for your spiritual journey.
5. Stamping and Stenciling
Stamping and stenciling are great ways to start Bible journaling, especially if you're hesitant about freehand drawing. These techniques use pre-designed tools to create beautiful and meaningful additions to your Bible pages. You can express your faith creatively without needing advanced artistic skills. They provide a structured way to add visual elements, helping you connect with scripture more deeply. This accessibility and ease of use makes stamping and stenciling essential tools for any Bible journaler.
These techniques use readily available stamps and stencils to add designs, patterns, and even text to your Bible. Stamps provide consistent, repeatable images. Stencils offer defined shapes you can fill with color or layer to create intricate patterns. Both methods work well with a variety of mediums such as inks, paints, and markers, giving you a wide range of creative options.
Features and Benefits
- Uses pre-made tools: Provides structure and simplifies the artistic process.
- Creates consistent designs: Allows for repeatable patterns and motifs.
- Versatile application: Can create borders, backgrounds, or focal images.
- Compatible with various mediums: Works with inks, paints, and markers.
- Quick and easy: A fast way to add visual interest to your Bible pages.
Pros
- Accessible for all skill levels: Perfect for beginners or those who don't consider themselves artists.
- Consistent, repeatable designs: Ensures uniformity and a polished look.
- Quick and easy to use: Adds visual interest without a big time commitment.
- Versatile and combinable: Pairs well with other Bible journaling techniques.
Cons
- Limited to available designs: Relying on pre-made tools can restrict creative freedom.
- Requires purchasing and storing supplies: Can be expensive and require dedicated storage space.
- Potential for bleed-through: Requires careful ink selection and page preparation.
- Less personalized than hand-drawn art: May lack the unique touch of original artwork.
Real-World Examples and Case Studies
- Emphasizing Keywords: Use alphabet stamps to highlight important words or phrases in a passage, drawing attention to their significance.
- Decorative Borders: Create beautiful borders around a passage using repeated stamp patterns, providing a frame for reflection.
- Symbolic Imagery: Stencil meaningful images like doves, crosses, or hearts to represent themes or emotions related to the scripture.
- Layered Backgrounds: Combine several stencil designs and colors to create rich, textured backgrounds for your journaling.
The growing popularity of Bible journaling, particularly stamping and stenciling, is partly due to companies like Dayspring's Illustrated Faith line of faith-based stamps and Bella Blvd's Bible journaling stamp collections. These resources offer themed and aesthetically pleasing tools that make the craft more accessible. Tim Holtz's popular stencils, while not specifically for Bible journaling, are also frequently used, expanding the creative possibilities.
Practical Tips for Implementation
- Test before applying: Always test your stamps and inks on a separate sheet of similar paper to your Bible pages to check for bleed-through.
- Use quality ink: Choose pigment ink pads that are quick-drying and formulated to minimize bleed-through. Archival inks are a popular choice.
- Secure your stencils: Use removable tape to secure your stencils firmly to the page, preventing shifting and smudging.
- "Stamping Off": For a lighter, more subtle impression, try "stamping off" – stamp once on scrap paper before stamping on your Bible page.
- Smooth stencil application: Apply color through stencils with a makeup sponge or stencil brush for even coverage and a professional finish.
By understanding these techniques and following these tips, you can confidently use stamping and stenciling in your Bible journaling and enrich your spiritual journey through creative expression.
6. Painted Bible Edges
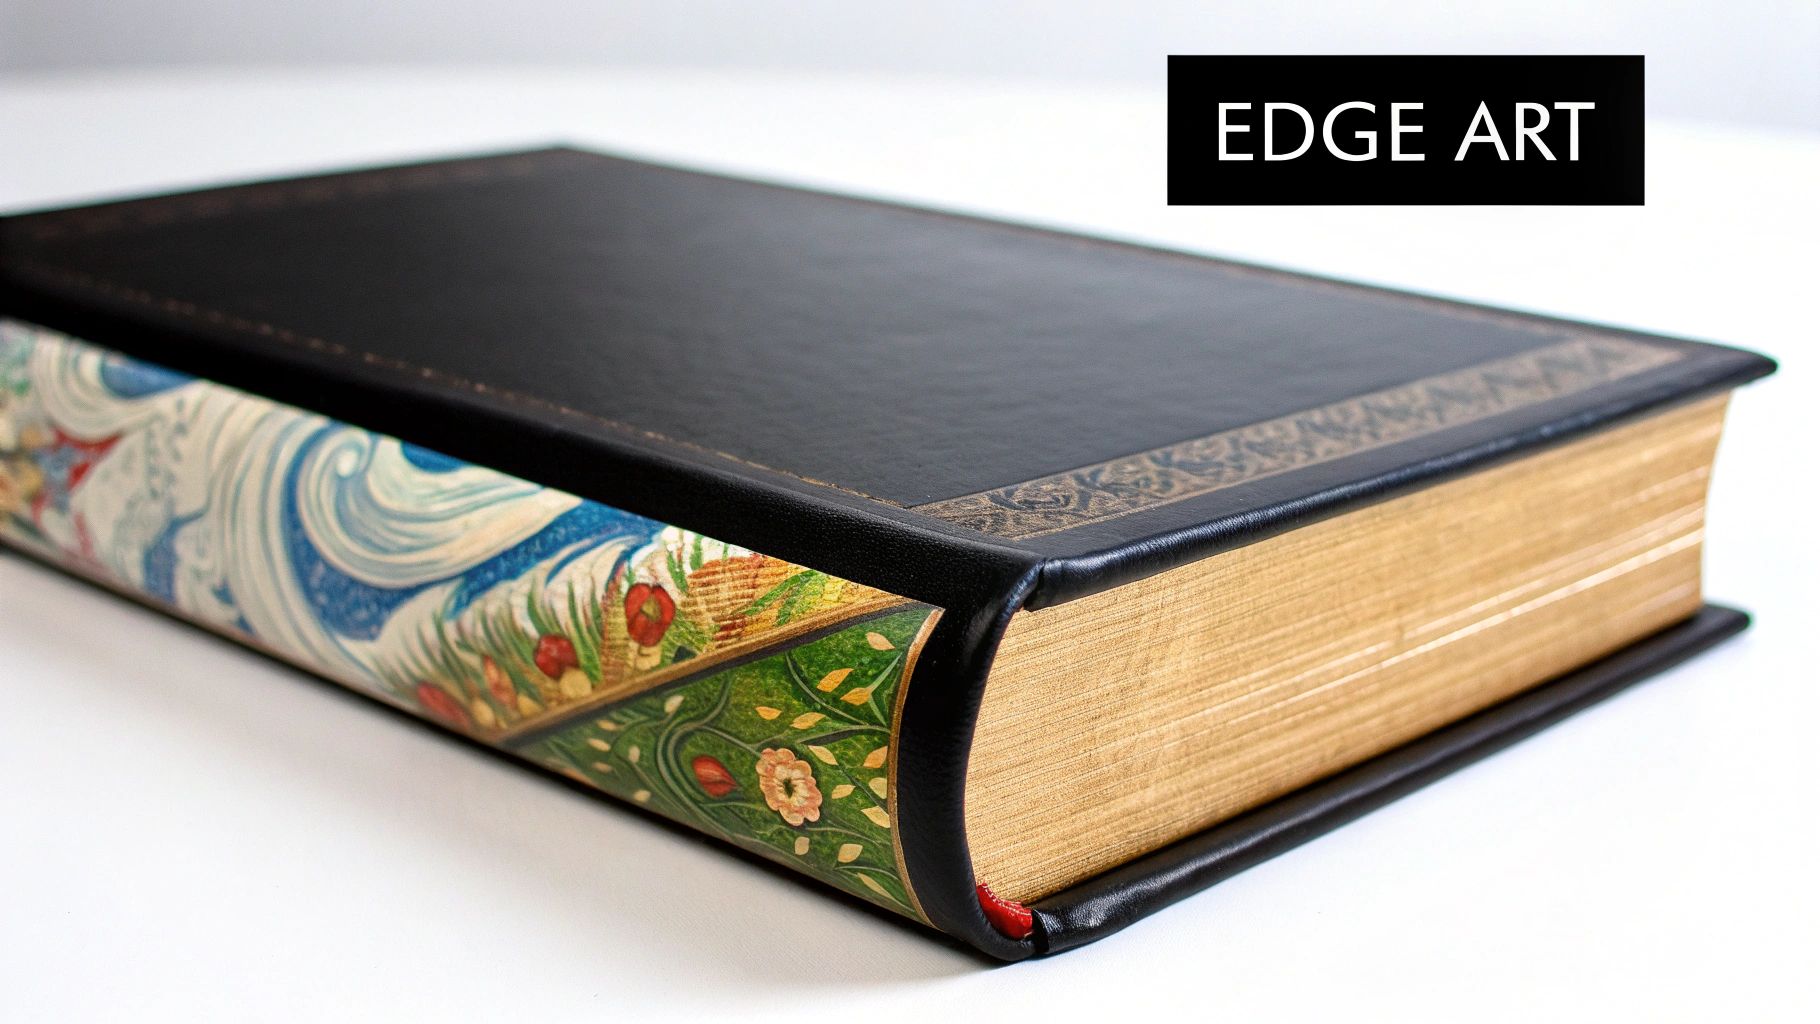
Painted Bible edges, sometimes called bible edge gilding or page edge art, offer a distinctive way to personalize your Bible. This involves applying paint, ink, or gilding to the closed edges, transforming them from plain into a canvas for artistic expression. The interior pages remain untouched, letting you engage with the text without distraction while still making your Bible easily recognizable.
This technique stands out as a subtle yet personal way to connect with scripture. Unlike methods like writing directly in the Bible, painted edges provide artistic expression without interfering with readability.
Features and Benefits
- External Art: The art is on the outside, keeping the pages clean for notes and reading.
- Design Versatility: The design options are expansive, from basic patterns to complex landscapes. You can choose designs meaningful to your faith.
- Hidden Beauty: The art appears when the Bible is closed, adding an element of surprise. When open, the art is hidden, allowing for focused reading.
- Medium Flexibility: Many mediums work, including acrylic paints, inks, and gilding materials.
Pros and Cons
Let's explore the advantages and disadvantages of this unique approach:
| Pros | Cons |
|---|---|
| Preserves Readability | Requires Precision |
| Personalization | Difficult Corrections |
| Conversation Starter | Potential Page Turning Issues |
| Symbolic Expression | Limited Space |
Design Examples
- Mountain Landscapes: These can symbolize the ups and downs of spiritual growth.
- Bible Verse Word Art: Showcase a favorite verse along the edge.
- Rainbow/Color Block Designs: Represent God's promises.
- Floral Designs: Reflect the growth of faith.
Tips for Implementation
- Compress and Secure: Use clamps or books to hold the pages tightly together, preventing bleeding.
- Smooth Surface Preparation: Lightly sanding gilded edges helps create a smoother painting surface.
- Recommended Mediums: Acrylic paints and alcohol-based markers offer vibrant color and good adherence.
- Layering Technique: Apply thin coats instead of one thick coat to avoid cracking.
- Sealing for Durability: Use a clear acrylic spray sealant to protect the artwork.
Popularity and Evolution
Edge gilding has a history in bookbinding, but its modern application to Bibles as personal art was popularized by artists like Jake Weidmann. His intricate designs brought attention to the technique. Social media platforms like Instagram and Pinterest helped spread the trend as Bible journalers shared their work. Companies like Hosanna Revival also offer custom Bible designs with painted edges, meeting the demand for personalized faith expression.
By using these tips and exploring examples, you can make your Bible a unique piece of art reflecting your faith.
7. Mixed Media Bible Art
Mixed media Bible art offers a dynamic and deeply personal way to connect with scripture. It moves Bible journaling beyond simple note-taking and into a richer, multi-layered artistic experience. Combining techniques like painting, collage, stamping, and drawing—even incorporating found objects—allows you to visually and meaningfully represent your spiritual journey. This approach fosters a stronger understanding of and emotional connection with the biblical text.
Instead of just jotting notes in the margins, you're creating a visual tapestry of your reflections, prayers, and insights. The depth and texture achieved through mixed media adds a tangible element to your spiritual practice, making it a more immersive and engaging experience.
Understanding the Layered Approach
The core of mixed media is its layered approach. Think of it as building a mini-artwork right on your Bible page. You might start with a base of gesso to protect the paper. Then, layer on watercolor washes, stamped images, collaged paper, hand-lettered verses, and even small, symbolic objects like a dried flower or a meaningful ticket stub. This layering creates visual depth and tactile interest, transforming your Bible into a unique and personalized keepsake.
Real-World Examples and Inspiration
The possibilities with mixed media are endless, offering incredible creative freedom. Consider these examples:
- Psalms of Praise: Imagine a vintage hymn sheet fragment layered with blue and purple watercolors. This backdrop sets the stage for a hand-lettered verse from Psalms, expressing gratitude and joy.
- Revelation's Richness: Gold leaf accents layered over collaged images and stamping can bring the vibrant imagery of Revelation to life. This technique captures the book’s complexity and mystery.
- Exodus's Tabernacle: Fabric scraps, thread, and paint can create a textured representation of the tabernacle. This helps visualize the Israelites’ journey and God’s presence among them.
Evolution and Popularization
The rise of mixed media Bible journaling is connected to the broader trends of art journaling and the growing community of faith-based creatives. Figures like Shanna Noel (founder of Illustrated Faith), worship artist and mixed media Bible journaler Erin Leigh, and mixed media artist Stephanie Ackerman have contributed to its popularization. They've inspired countless individuals to explore this expressive form of worship through workshops, online resources, and their own vibrant artistic styles.
Practical Tips for Implementation
- Prep Your Pages: A thin layer of gesso is essential. It prevents bleed-through from wetter mediums and strengthens the page.
- Layer Strategically: Begin with thin elements like watercolors and inks. Gradually build up to thicker materials like collage and embellishments.
- Text Visibility: Plan your layout so you don’t obscure key verses. Use washi tape or sticky notes to protect areas you want to keep clear.
- Repositionable Adhesive: Experiment with placement using repositionable adhesive before committing to a final design.
- Personal Touches: Incorporate meaningful memorabilia like photos, ticket stubs, or dried flowers that resonate with the passage.
Pros and Cons
Pros:
- Highly personalized and unique Bible pages
- Incorporation of meaningful memorabilia
- Multiple ways to engage with scripture visually
- Creative freedom
Cons:
- Can add bulk to Bible pages
- More complex and time-consuming
- Requires more extensive page preparation
- Risk of obscuring text if not carefully planned
Why Mixed Media Deserves Its Place
Mixed media Bible art transforms Bible study into a truly immersive and personalized experience. It offers a powerful way to connect with scripture on a deeper emotional and artistic level, especially for visual learners and creative individuals. Combining multiple techniques and personal touches creates a tangible record of your spiritual journey—a testament to your faith and growing understanding of God's word.
8. Tracing and Transfer Methods
Tracing and transferring offer a fantastic entry point into the world of Bible journaling, particularly for those who admire beautifully decorated pages but might feel less confident in their freehand drawing abilities. This method essentially lets you transfer pre-made images or lettering onto your Bible pages, creating a base for adding color, embellishments, or simply enjoying the clean lines of the transferred design. It allows for a deeper focus on reflecting on the scripture and adding personal touches, rather than struggling with the technical aspects of drawing.
This technique has become incredibly popular due to its ease of use. You don't need to be a skilled artist to achieve polished, professional-looking results. Companies like Illustrated Faith have helped popularize this method with their printable design collections, specifically created for Bible journaling. Artists like Karla Dornacher have expanded these resources by offering traceable templates, and Dayspring also provides Bible journaling kits which often include traceable elements. These resources provide a starting point and make the practice much more approachable for beginners.
How Tracing and Transferring Works
There are several ways to transfer images:
- Carbon Paper: The classic method involves placing carbon paper between the printed design and the Bible page. Tracing over the design transfers the image onto the page.
- Graphite Transfer: Similar to using carbon paper, graphite paper offers a cleaner transfer with less smudging.
- Light Box: A light box illuminates the design from underneath, making it visible through the Bible page for easy tracing. A sunny window can also work in a pinch.
Practical Applications
The possibilities with tracing and transferring are extensive:
- Decorative Scripture: Transfer a favorite verse in beautiful calligraphy alongside the passage to make it visually appealing and prominent.
- Intricate Illustrations: Accurately depict scenes from the Bible by tracing images from illustrated resources. This adds a vivid and engaging dimension to the narrative.
- Precise Marginalia: Enhance your notes and reflections by adding small, detailed illustrations in the margins. This creates visual interest and highlights key themes.
Pros and Cons
Pros:
- Accessibility: Anyone can create detailed artwork, regardless of their artistic skills.
- Consistency: Achieve balanced and aesthetically pleasing images every time.
- Time-Saving: Spend less time drawing and more time reflecting and adding color.
- Design Variety: A plethora of free and paid designs are available online.
Cons:
- Originality: The artwork may feel less personal than drawing freehand.
- Materials: Requires specific supplies, such as transfer paper or a light box.
- Design Limitations: You're restricted to existing designs unless you create your own.
- Spontaneity: The process can sometimes feel less spontaneous than freehand drawing.
Tips for Successful Transferring
- Pressure Test: Practice on paper similar to your Bible pages to get the right pressure and avoid indentations.
- Fine-Point Pencil: Use a fine mechanical pencil (0.5mm or smaller) for precise lines.
- Vellum Paper: Print designs on vellum for easy positioning and tracing.
- Good Lighting: A light box or bright window provides the best visibility.
- Clean Workspace: Keep your hands and work area clean to prevent smudging.
Tracing and transferring are valuable tools for enriching your Bible journaling experience. While freehand drawing has its own unique appeal, tracing provides a helpful alternative for those seeking a different approach. It empowers you to create visually beautiful and meaningful pages that strengthen your connection to scripture.
Bible Journaling Techniques: Side-by-Side Comparison
| Title | Implementation Complexity (🔄) | Resource Requirements (⚡) | Expected Outcomes (📊) | Ideal Use Cases (💡) | Key Advantages (⭐) |
|---|---|---|---|---|---|
| Bible Margin Lettering | Low – simple handwriting style | Minimal supplies (pens, markers) | Subtle, integrated journaling that complements text | Beginners; quick reflections on Bible margins | Preserves the text while offering personal expression |
| Tip-In Page Method | Medium – requires assembly and adherence | Moderate (paper, washi tape, adhesives) | Expandable entries with removable artwork | When extra journaling space is needed and preservation is key | Protects Bible pages; flexible and repositionable |
| Watercolor Illustrations | Medium-High – needs artistic skill | Specialized (watercolors, gesso, brushes) | Vibrant, transparent backgrounds with decorative flair | For expressive passages requiring artistic nuance | Enhances mood with color while keeping text legible |
| Digital Bible Journaling | Medium – tech-based process with editing | Digital device and appropriate apps | Editable, layered and precise digital compositions | Tech-savvy individuals; non-permanent, experimental layouts | Easy to correct mistakes; unlimited creative options |
| Stamping and Stenciling | Low – use of pre-made templates | Basic (stamps, stencils, ink pads) | Consistent, repeatable designs with defined shapes | For quick decoration and those with limited freehand skills | Fast, accessible design with reliable outcomes |
| Painted Bible Edges | Medium-High – requires steady, careful work | Specialized (paints, markers, clamps) | Unique, decorative external edges that stand out | When a personalized, non-destructive decoration is desired | Personalizes the Bible without altering inner pages |
| Mixed Media Bible Art | High – involves layering multiple techniques | Extensive (various art supplies, adhesives) | Rich, textured pages with a blend of colors and materials | Advanced creatives seeking deep, multifaceted expression | Offers a highly personalized and dynamic art piece |
| Tracing and Transfer Methods | Low-Medium – guided process with tools | Specific (transfer paper, light box) | Precise and detailed reproductions of chosen designs | When detailed, accurate illustrations are preferred | Makes complex designs accessible to non-artists |
Embrace the Journey of Faith and Art
Bible journaling is more than just a creative outlet; it's a deeply personal journey that strengthens your connection with scripture. Whether you're drawn to the clean lines of Bible margin lettering, the vivid colors of watercolor illustrations, or the flexibility of mixed media art, the techniques discussed provide a springboard for your own exploration. Remember, there's no single "right" way to approach this practice. The key is to find methods that resonate with you and allow you to engage with the Word in a way that feels meaningful.
As you begin this journey, embrace experimentation and personalize your approach. Don't hesitate to try different techniques, combine methods, or even create your own unique style. Perhaps digital Bible journaling appeals to your tech-savvy side, or maybe the hands-on experience of stamping and stenciling ignites your creativity. Consider the Tip-In Page Method to add extra space for reflections or explore painted Bible edges for a visually striking effect. Each technique offers a unique perspective through which to engage with scripture.
The world of Bible journaling is always growing, with new trends and techniques constantly emerging. From innovative digital tools like Procreate to exciting new art supplies, the possibilities are endless. Stay curious, explore new resources, and let your creative spirit be your guide. As you learn and grow, your Bible journal will become a treasured record of your personal faith journey.
Key Takeaways
- Personalization: Select techniques that align with your personal style and spiritual objectives.
- Experimentation: Be open to trying new things and developing your own individual approach.
- Growth: Embrace the learning process and allow your practice to naturally evolve.
- Connection: Use Bible journaling to deepen your connection with scripture and nurture your faith.
Ready to delve deeper into your faith and unlock a richer understanding of the Bible? ChatHolyBible provides the support, guidance, and resources you need to enhance your spiritual journey. From personalized prayers and biblical interpretations to a supportive community and 24/7 access to answers, ChatHolyBible offers a safe and enriching space to connect with the Word and deepen your understanding of its teachings. Start your journey today and discover the transformative power of faith and connection.